Fence Installation Process: From Planning to Final Installation
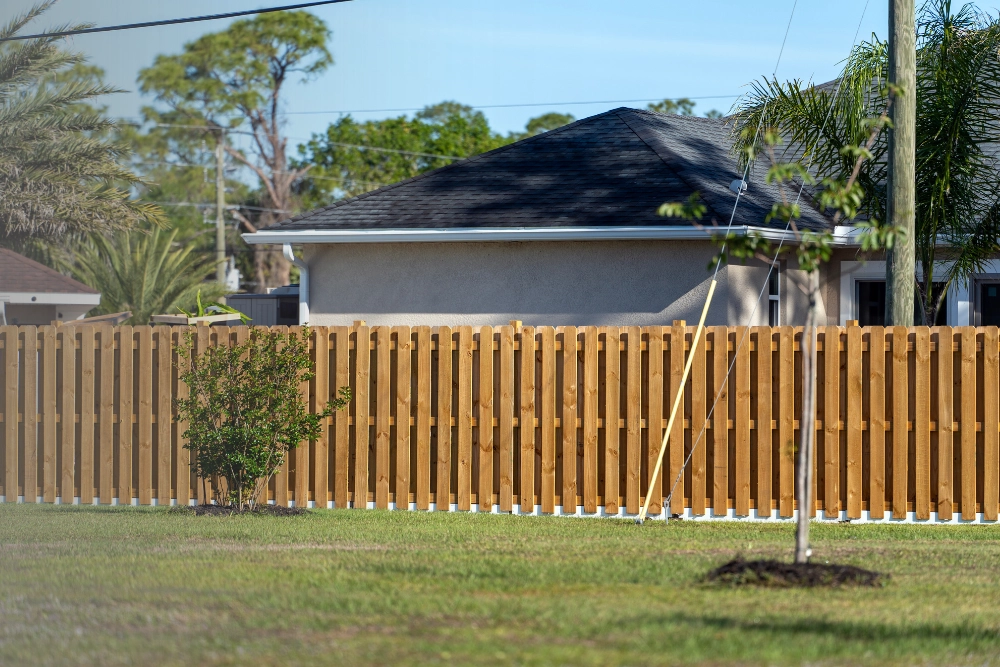
Installing a new fence is an exciting way to improve your property's privacy, security, and appearance. Whether you're creating a private backyard retreat or adding a clear boundary around your property, understanding the fence installation process can help you plan with confidence and know what to expect from start to finish.
For homeowners in Murfreesboro and throughout Middle Tennessee, understanding these steps can help prevent avoidable delays, protect your property, and make conversations with your contractor more productive.
In this guide, we'll walk through the main stages of fence installation, explain what to expect at each step, and share practical considerations for planning a successful project.
Step 1: Define the Purpose of Your Fence
Before choosing materials or measuring your yard, determine what you want your fence to accomplish. Your priorities will influence its height, layout, style, and construction requirements.
Common reasons for installing a fence include:
-
Privacy: Creating a more secluded backyard or outdoor living area.
-
Security: Establishing a physical boundary around your property.
-
Pet containment: Providing an enclosed space for pets.
-
Appearance: Adding structure and visual appeal to your landscape.
-
Property boundaries: Clearly identifying the limits of a yard or designated area.
Think about how you use your outdoor space. For example, a homeowner seeking backyard privacy may prefer a solid wood fence, while someone who wants an open view may consider an ornamental aluminum design.
Deciding on these priorities early helps guide the remaining fence installation steps.
Step 2: Evaluate Your Property and Plan the Layout
An accurate layout is essential for a properly installed fence. Before construction begins, the proposed fence line should be reviewed for boundaries, terrain, access points, and potential obstacles.
Confirm Property Lines
Do not assume an existing fence, driveway edge, or landscaping feature marks the legal property boundary.
Review available property records and surveys. If the boundary is uncertain, a qualified land surveyor may be needed to establish its location.
This is particularly important when installing a fence near neighboring properties.
Identify Underground Utilities
Fence posts require digging, which can create risks if underground utilities are not identified beforehand.
In Tennessee, contact Tennessee 811 before excavation so participating utility operators can mark applicable underground lines. Private lines, such as certain irrigation or electrical systems, may require separate identification.
Account for Slopes and Drainage
Middle Tennessee properties can have uneven terrain, clay-heavy soils, and areas where water collects after heavy rainfall.
During fence planning and preparation, consider:
-
Changes in ground elevation
-
Areas with standing water
-
Existing trees and root systems
-
Retaining walls and landscaping
-
Gate locations and access requirements
-
Soil conditions affecting post stability
A sloped yard may require stepped or racked fence sections, depending on the fencing material and design.
Step 3: Choose the Right Fencing Material
The material you select affects the fence's appearance, maintenance needs, privacy, and long-term performance.
Wood Fencing
Wood is a popular choice for residential fence installation because it offers design flexibility and can provide substantial privacy.
Wood fences can be built in several styles, including traditional privacy and board-on-board designs.
However, wood requires periodic maintenance to manage moisture exposure, weathering, and deterioration.
Vinyl Fencing
Vinyl fencing provides a relatively low-maintenance option for homeowners who want a clean, consistent appearance.
It generally does not require painting or staining, although cleaning and occasional repairs may still be necessary.
Proper installation is essential because temperature changes and ground movement can affect fence components.
Aluminum Fencing
Ornamental aluminum fencing is often used around front yards, landscaped areas, and properties where maintaining visibility is important.
It offers a decorative appearance and resistance to rust, although it typically provides less privacy than solid fencing.
Ranch Rail Fencing
Ranch rail fencing can be suitable for larger properties, decorative boundaries, and open landscapes.
Its open design allows visibility but is generally not appropriate for homeowners seeking complete backyard privacy.
When choosing the right fence material, consider your property's terrain, maintenance preferences, desired appearance, and intended use.
Step 4: Check Permits, HOA Rules, and Local Requirements
Fence installation permits and regulations can vary by municipality, county, subdivision, and property type.
Before scheduling installation, confirm whether your project is subject to:
-
Local fence height restrictions
-
Setback or property-line requirements
-
Corner-lot visibility rules
-
Easements or utility access restrictions
-
Historic district requirements
-
Homeowners association approval
-
Pool barrier regulations, if applicable
For example, requirements in Murfreesboro may differ from those in Nashville, Franklin, or other Middle Tennessee communities.
Do not assume that a fence that was permitted elsewhere will meet the requirements for your property.
Contact the appropriate local building or planning department and review your HOA documents before beginning construction.
Step 5: Prepare the Installation Area
Once the design, layout, and applicable approvals are addressed, the site can be prepared for construction.
Site preparation may involve removing vegetation, clearing debris, identifying obstacles, and marking the proposed fence line.
Homeowners can help prepare by:
-
Moving outdoor furniture and decorations away from the work area.
-
Securing pets during construction.
-
Providing access to the installation area.
-
Identifying private irrigation lines and other known underground features.
-
Discussing any plants or landscape elements that should be protected.
Good preparation can reduce interruptions and make it easier for the installation team to work safely.
Step 6: Mark Post Locations and Install Fence Posts
Fence post installation is one of the most critical stages of the project.
Posts support the fence's structure and help it withstand everyday use and environmental conditions.
Measuring and Marking
Installers establish the fence line and determine post spacing based on the selected fencing system.
Post locations must account for gates, corners, changes in elevation, and other structural considerations.
Digging Post Holes
Post holes are excavated to dimensions appropriate for the fence design, soil conditions, and applicable requirements.
Depth and diameter should not be chosen arbitrarily. Taller fences, gate posts, and certain soil conditions may require additional support.
Setting and Aligning Posts
Posts must be positioned, aligned, and secured using an appropriate installation method.
Depending on the material and design, this may involve concrete footings or another approved post-setting system.
If concrete is used, sufficient curing time must be allowed before placing significant loads on the posts.
Poorly aligned or inadequately supported posts can cause leaning, sagging, and premature fence damage.
Step 7: Install Rails, Panels, and Gates
After the posts are properly secured, the remaining fence components can be installed.
The exact construction sequence depends on the fencing material.
Rails and Fence Panels
For many wood fence designs, horizontal rails are attached between posts before individual pickets or panels are installed.
Prefabricated fencing systems may use a different assembly method.
Throughout installation, the contractor should check alignment, spacing, and the overall appearance of the fence.
Gate Installation
Gates require particular attention because they are moving components that experience repeated use.
A properly installed gate should:
-
Open and close without dragging
-
Have adequate ground clearance
-
Use appropriately supported hinges and hardware
-
Latch securely
-
Align with the surrounding fence
Gate width and placement should also accommodate how you intend to use the entrance, including lawn equipment or other access needs.
Step 8: Complete the Final Inspection and Cleanup
The final stage of the fence installation process involves reviewing the completed work and addressing any visible concerns.
A final walkthrough should include checking:
-
Fence alignment and overall appearance
-
Post stability
-
Secure attachment of rails and panels
-
Gate movement and latch operation
-
Exposed fasteners or sharp edges
-
Ground clearance where appropriate
-
Cleanup of construction debris
Any required municipal inspections should also be completed according to local requirements.
Before the project is considered finished, homeowners should understand any recommended maintenance and care instructions for their new fence.
How Long Does the Fence Installation Process Take?
The fence installation timeline depends on the size and complexity of the project.
A relatively straightforward residential fence may require only a few days of on-site installation, while larger or more complicated projects can take longer.
Factors affecting the schedule include:
-
Total fence length and height
-
Material availability
-
Number and complexity of gates
-
Sloped or difficult terrain
-
Soil and excavation conditions
-
Weather interruptions
-
Permit and HOA approval timelines
-
Concrete curing requirements
In Middle Tennessee, periods of heavy rainfall can make excavation more difficult and affect site access.
Keep in mind that the total project timeline may include planning, approvals, material procurement, and scheduling before physical construction begins.
Common Fence Installation Mistakes to Avoid
Understanding how to install a fence also means recognizing common problems that can affect its performance.
Skipping property boundary verification: Incorrect assumptions about property lines can lead to disputes or costly changes.
Overlooking underground utilities: Excavating without appropriate utility identification creates serious safety risks.
Using inadequate post support: Incorrect post depth, spacing, or installation methods can contribute to structural problems.
Ignoring terrain and drainage: Poor planning on sloped or wet ground may affect alignment and long-term stability.
Choosing materials based only on appearance: A fence should also match your maintenance expectations and intended use.
Failing to plan gate access: Gates that are too narrow or poorly positioned can create everyday inconveniences.
Careful planning and professional installation help reduce these risks.
Planning a Fence Installation in Middle Tennessee
Installing a fence is a significant property improvement, and understanding the process helps you make informed decisions before construction begins.
At Pure Build Construction, we help homeowners and businesses plan fencing projects based on their property's layout, intended use, and design preferences.
If you're considering a new fence in Murfreesboro, Nashville, Franklin, or surrounding Middle Tennessee communities, explore our fence installation services to discuss your project.
Call us at 615-864-2014 to talk about your fencing needs and request an estimate.
Frequently Asked Questions
Do I need a permit to install a fence in Tennessee?
Permit requirements depend on your specific location and project. Some jurisdictions may regulate fence height, placement, and design even when a separate fence permit is not required. Check with your local building or planning department and HOA before starting.
Should fence posts be installed in concrete?
Concrete is commonly used to secure certain fence posts, but the appropriate method depends on the post material, fence design, soil conditions, and manufacturer specifications. Not every fencing system uses the same installation method.
Can a fence be installed on a sloped yard?
Yes. Many fences can be adapted to sloped terrain using stepped or racked installation methods. The best approach depends on the slope, fencing material, and desired appearance.
How long should I wait before using a newly installed fence?
The answer depends on the installation method and materials. Posts set in concrete may need additional curing time before supporting gates or significant loads. Follow your installer's instructions before using the fence.
What should I do before the fence contractor arrives?
Clear personal belongings from the work area, arrange for pets to be secured, identify known private utilities, and make sure the contractor can access the installation site. Property boundaries and applicable approvals should also be resolved beforehand.
What happens after the fence installation is complete?
Inspect the fence with your contractor, test the gates, review any outstanding concerns, and ask about maintenance requirements. If your project requires a municipal inspection, confirm that it has been completed.
Ready to start your project?
Pure Build Construction builds concrete and masonry, decks and railings, fencing, remodels and holiday lighting across Middle Tennessee. Tell us what you have in mind.